
How to Do a Vaginal Swab
Curious about how to do a vaginal swab? Discover how take Evvy’s vaginal microbiome test from the comfort of your own home.
Words by the Evvy Team
Scientifically edited by Dr. Krystal Thomas-White, PhD
Medically reviewed by Dr. Sameena Rahman, MD
Taking care of your vaginal health has never been easier, thanks to the Evvy Vaginal Health Test. This simple, painless, and quick test allows you to learn more about your vaginal microbiome from the comfort of your own home. But how do you actually take a vaginal swab? Let’s walk through the process.
What is a vaginal swab test?
A vaginal swab test is used to collect a sample from the vaginal walls. The collected sample is then analyzed in a lab to assess the vaginal microbiome.
This test can help identify imbalances in the microbiome that may lead to conditions such as bacterial vaginosis (BV) and yeast infections. Evvy’s Expanded PCR Panel also tests for four of the most common sexually transmitted infections (STIs) and antibiotic resistance. Understanding your vaginal microbiome can provide insights into your overall vaginal health and guide you in maintaining a healthy balance, even if you’re not experiencing symptoms.
Our at-home vaginal microbiome test is the first and only CLIA-certified, metagenomic next-generation sequencing vaginal health test — providing you with the most reliable, comprehensive answers from a single swab. Evvy also provides end-to-end clinical care, including physician-reviewed results, personalized prescription treatment, and a free 1:1 coaching session to understand your results better.

Recurrent symptoms? Get Evvy's at-home vaginal microbiome test, designed by leading OB-GYNs.
The Evvy Vaginal Health Test: What's in the box?
When you receive your Evvy Vaginal Health Test, it will contain everything you need to take your sample and send it back for analysis. Here’s what you’ll find inside:
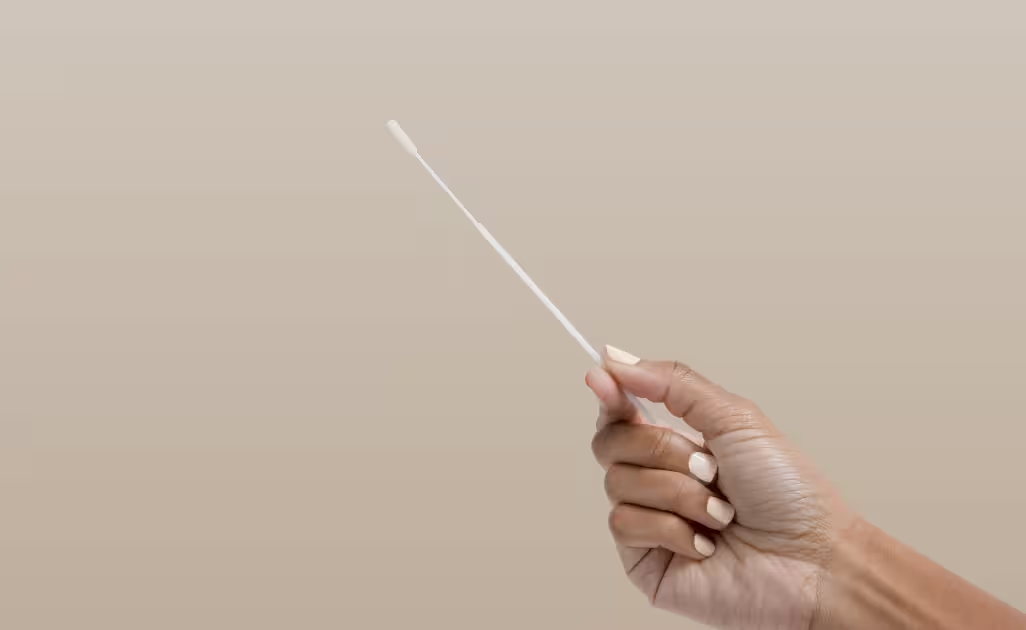
- 1 swab (think a long-handled Q-tip!)
- 1 collection tube with a Test ID sticker
- 1 pre-paid return box
- 1 biosafety bag (inside your return box)
- Set of instructions
How to take a vaginal swab
Our vaginal microbiome test is designed to be as user-friendly as possible. According to a survey of our early users, 100% agreed that the swab test was easy to complete, with most finishing the process in five minutes or less. As one Evvy member shared, “I put off doing it because I got busy and thought it was going to take time to complete the process. But once I opened everything up, I was pleasantly surprised with how easy and quick it was!”
So, how does the process actually work? Let’s break it down.
1. Activate your test
Before you do anything else, you'll need to activate your test kit at evvy.com/activate. This step is crucial because it links the test kit with your personal account, ensuring that your results are accurately matched to you.
2. Prepare the swab
Once your test is activated, you’re ready to take your sample. Start by unwrapping the swab. Be careful not to touch the swab with your hands or any other surface to avoid contamination.
3. Insert the swab
With clean hands, gently insert the swab into your vagina about 1-2 inches deep. This shouldn’t cause any discomfort.
4. Collect the sample
Move the swab in several full circles along the vaginal walls for about 20 seconds. Make sure to cover all sides of the swab tip to collect a thorough sample.
5. Secure the sample
Carefully remove the swab from your vagina and place it into the collection tube. You’ll notice a breakpoint on the swab; snap off the top part of the swab at this point so that the swab fits securely in the tube. Finally, screw the cap onto the collection tube to seal it.
6. Send it back
That’s it! Your sample is now ready to be sent back for analysis. Simply follow the instructions in your test kit to package the swab in the included biosafety bag, place it in the pre-paid return box, and drop it in the mail.
Have more questions? Check out our Help Center for common Evvy FAQ or reach out to hello@evvy.com.


